Mastering Hand Independence for Better Piano Playing: Practical Tips for Herman Piano Studio Students
Introduction
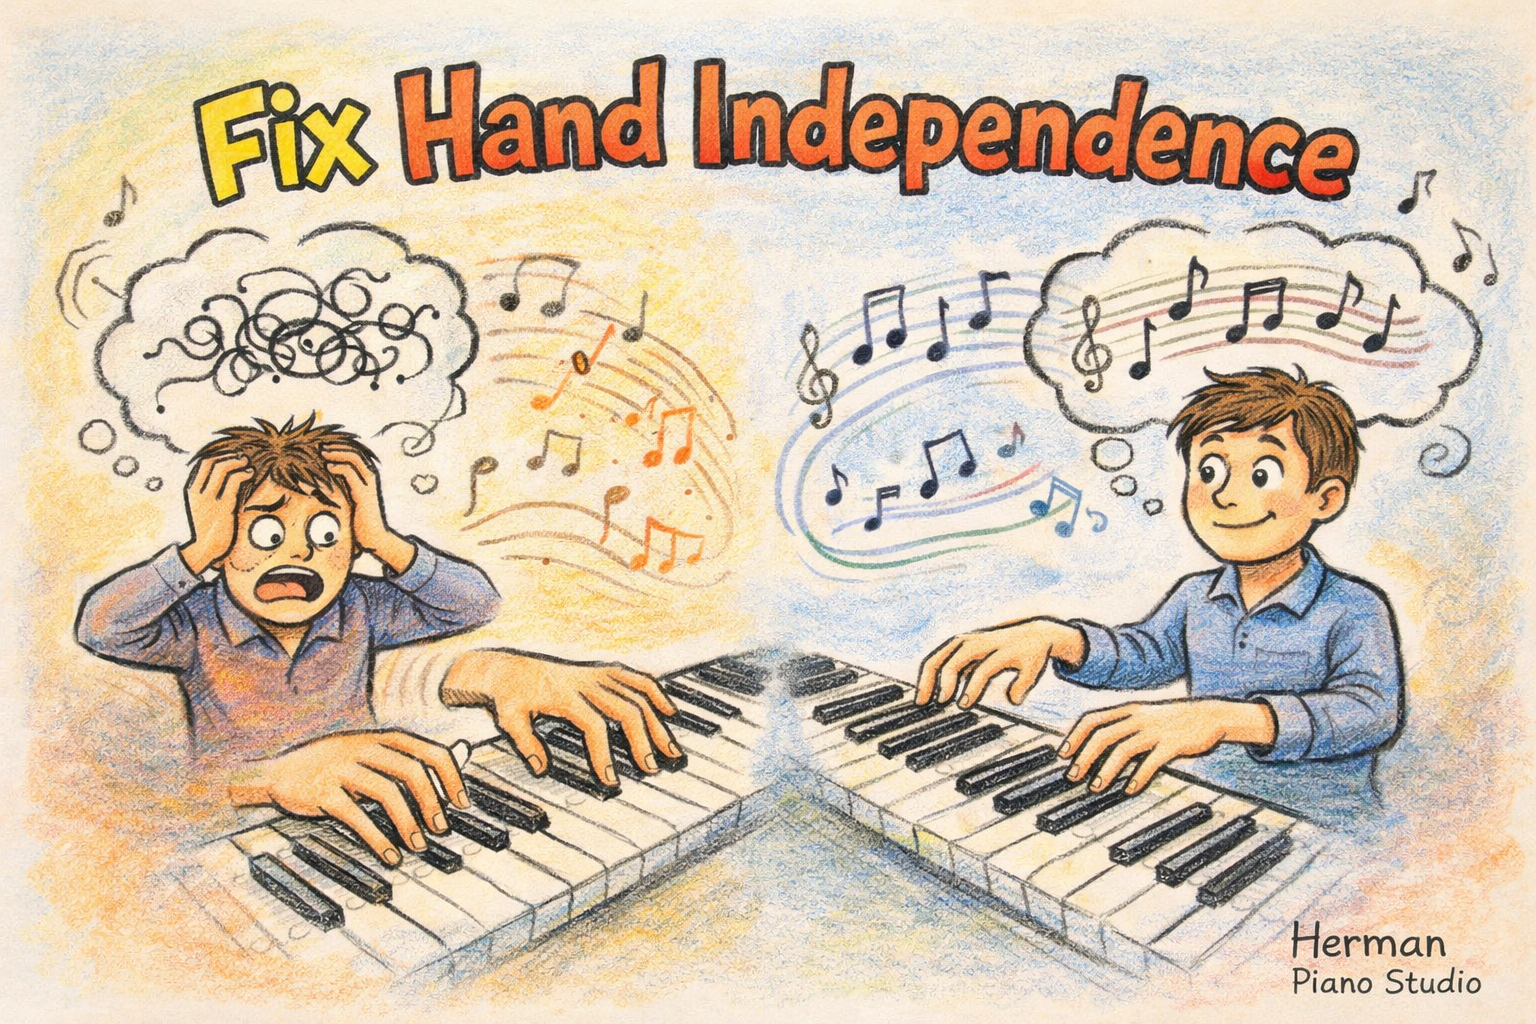
One of the most common and frustrating challenges for piano students is learning to use each hand independently. Beginners often find themselves glued to one hand while the other gets lost, and even more experienced students preparing for ABRSM exams may struggle when right and left hands play different rhythms. This problem affects nearly everyone at some point: parents notice their children clapping both hands together, teenage students complain that they “can’t make their hands do different things,” and adult beginners sometimes wonder whether they are simply not “talented” enough for piano.
Piano hand independence is the ability to perform separate rhythms, melodies and chords, or even different volumes with each hand simultaneously[1]. Developing this skill allows pianists to play more complex and expressive music[1], but it demands significant mental coordination[2]. Your brain must process and execute multiple tasks at once, which can be overwhelming, especially for beginners[2]. Fortunately, with clear practice strategies, anyone can overcome this obstacle and progress toward fluent, independent playing.
What Is the Problem (Simple Explanation)
Hand independence means that each hand can operate on its own, playing different rhythms, melodies or chords without interfering with the other. Lack of independence manifests in several ways:
· Synchronised hands: When both hands involuntarily play the same rhythm even though the score requires differing patterns.
· Stumbling transitions: Students may slow down or pause when switching between hands or crossing from accompaniment to melody.
· Uneven dynamics: One hand dominates the sound because the player cannot control volume in both hands.
This problem affects children and teenagers in beginner piano lessons, adult beginners returning to music, and advanced students preparing for ABRSM exams. It is particularly problematic when pieces require contrapuntal textures, such as Bach’s inventions, where each hand plays a distinct melodic line[3].
Why This Problem Happens
Developing hand independence is challenging because it requires a complex combination of mental and physical skills:
· Cognitive load: Playing different parts with each hand demands significant mental coordination. Your brain must process multiple tasks simultaneously, which can be overwhelming[2].
· Motor skill development: Each hand has to move independently. If you are not accustomed to using them separately, developing fine motor skills and muscle memory takes time[4].
· Synchronization: Even when you can play both parts separately, synchronizing them so the music sounds coherent is challenging[5].
· Increasing complexity: As students progress to more advanced pieces, the complexity of hand independence increases, demanding higher levels of coordination and practice[6].
· Practice habits: Many students try to play both hands together too soon, or practise only hands together at a fast tempo. This reinforces mistakes and inhibits muscle memory. Others believe they simply lack talent, which is a misconception—hand independence can be learned with structured practice.
Step‑by‑Step Practice Solutions
To develop hand independence and improve your overall piano technique, follow these practical steps. They are written like a lesson so students and parents can apply them during piano practice sessions.
1. Separate-hand practice
1. Learn each part separately. Choose a short melody or accompaniment and practice it slowly with your right hand, paying close attention to finger placement, articulation and dynamics[7]. Gradually increase the tempo once you feel comfortable.
2. Practice the left-hand accompaniment separately. Focus on maintaining a steady rhythm and clarity[8]. Begin at a slow tempo and gradually speed up.
3. Combine both hands. When each hand feels secure, play both parts together at a slow pace[9]. Use a metronome to ensure steady timing and increase the tempo only when you can play cleanly.
2. Rhythmic independence exercises
· Different rhythmic patterns. Practice playing quarter notes with one hand while the other plays half notes[10]. This trains the brain to manage different rhythmic values simultaneously.
· Contrary motion scales. Play scales or arpeggios in opposite directions[11]. For example, play C major ascending with the right hand while the left hand descends. Start slowly and gradually speed up.
· Scales and arpeggios combination. Play scales with one hand and arpeggios with the other[12]. This improves coordination and finger strength.
3. Incorporate Bach’s inventions and similar repertoire
J.S. Bach’s Inventions are excellent pieces for developing hand independence[3]. Each invention requires both hands to play distinct melodic lines, forcing the brain to separate voices. Start with Invention No. 1 in C major. Learn each hand separately, then bring them together slowly. Focus on balance so that the melody stands out clearly.
4. Use Hanon exercises wisely
Hanon exercises are well-known finger‑development routines created by Charles Louis‑Hanon. They involve independent finger practice that trains speed, agility, strength and precision across all fingers[13]. The exercises are divided into levels of difficulty and suitable for students of all abilities[14]. When used correctly, they strengthen each finger, eradicate unevenness and improve wrist flexibility[15].
· Begin with exercise No. 1 in D major; it helps improve finger strength and independence[16]. Practice slowly at first and pay attention to your wrist movement. Try hands separately before moving on to hands together.
· Exercise No. 6 in F major targets wrist and forearm strength and improves endurance[17]. Use your forearm rather than just fingers to avoid strain[18].
5. Slow practice with a metronome
A metronome is essential for building rhythmic independence. Set the metronome at a slow tempo (e.g., 60 bpm) and play each hand separately, then together. Increase the tempo gradually only when both hands are coordinated. Slow practice helps your brain form strong neural connections and reduces mistakes.
6. Visualization and counting aloud
Visualize each hand’s part separately before playing. You can tap rhythms on a table or count out loud (“1 and 2 and 3 and 4”) to internalize the rhythm. Counting aloud ensures that you are aware of where each note falls, which improves coordination.
7. Body and posture awareness
Relax your shoulders, arms and wrists while practising. Tension can impede independent movement and cause fatigue. Take short breaks between repetitions, shake out your hands, and ensure correct fingerings.
Practical Practice Routine (Daily)
Here is a structured piano practice routine that students of Herman Piano Studio can follow to develop hand independence. Adjust the timing based on your level and schedule.
5 minutes - Warm‑up: Play simple scales (C major, G major) with both hands together at a slow tempo. Focus on even touch and relaxed posture.
10minutes - Separate-hand practice: Choose a section of your piece (e.g., a bar of a Bach invention or exam piece). Practice right hand alone, then left hand alone. Gradually combine them.
5 minutes - Rhythmic independence exercises: Play quarter notes in one hand and half notes in the other, or practice contrary motion scales.
10minutes - Hanon exercise or finger exercise: Work on a Hanon exercise such as No. 1 or No. 6. Remember to start slow and watch your wrist technique[16].
5 minutes - Review and cool‑down: Repeat a section hands together at a comfortable tempo. End with a few deep breaths and relax your arms.
Common Mistakes to Avoid
· Playing too fast too soon. Speed amplifies mistakes. Start slowly and only increase tempo when you can play accurately.
· Skipping separate-hand practice. Rushing to play both hands together before each hand is secure leads to confusion and frustration.
· Ignoring fingerings. Proper fingerings help with smooth transitions and independence. Write fingerings in your score and stick to them.
· Tension and poor posture. Gripping the keyboard or hunching your shoulders limits mobility. Maintain relaxed shoulders and curved fingers.
· Neglecting rhythm. Hand independence requires accurate rhythm. Use a metronome and count aloud to ensure you’re not inadvertently altering rhythms.
Conclusion
Hand independence is not an innate talent; it’s a skill that develops through systematic practice. Although the challenge of playing different rhythms and melodies with each hand can feel daunting, persistent and thoughtful practice will yield results. By practising each hand separately, incorporating rhythmic exercises, exploring repertoire like Bach’s inventions, and using Hanon exercises appropriately, students can strengthen their finger coordination and mental focus. Remember that progress comes from consistency: follow the daily routine, use a metronome, and work gradually from slow to faster tempos.
Parents and adult learners should recognise that developing hand independence may take weeks or months, not just days. Encourage students to celebrate small victories, such as playing one measure hands together without stopping. With guidance from an experienced piano teacher in Singapore, such as those at Herman Piano Studio, students will receive personalised feedback and corrections to ensure healthy technique. Most importantly, enjoy the process—each step toward independent hands unlocks new pieces, greater musical expression and deeper confidence in your playing.